Flange Binding Tutorial – Kate Higgens
Measure your quilt to work out how much binding you will need to make. Add the four sides together. Eg, if your quilt measures 40” x 60” you will need to add 2 x 40 + 2 x 60 which equals 200”, then add 12 “ extra which will allow for turning the corners and the start/finish section so the total is 212”. This is then divided by the width of your fabric, in most cases this is 42 but check the size. If you don’t have a calculator for this then I do a rough calculation in my head dividing by 40. So this comes out at 5.047. As it’s so close to 5 I’m going to cut five strips but if it was any bigger I would cut 6.
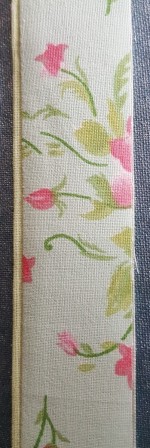
I usually cut my binding strips for standard binding at 2 ½” but for the flange binding I cut two separate strips, one at 1 ¾” and the other at 1 ½” the wider strip is used for the small flange section, green on the instructions below and the narrower strip is the part that will show, the floral fabric.
So cut 5 strips of each at the above mentioned widths.
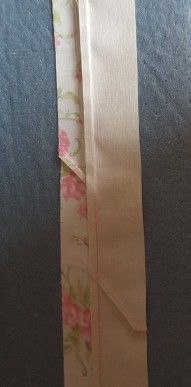
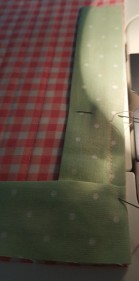
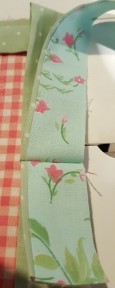
Join the strips in the usual way on the bias, see picture one. Trim the excess and press seams in one direction. Join all the strips in one long row, ie all the greens and separately all the floral.
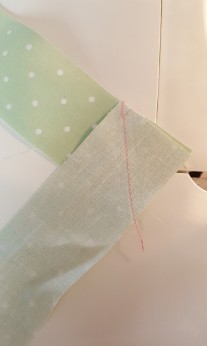
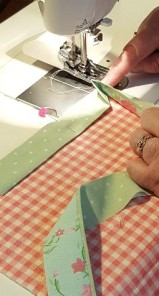
Both these strips will now be joined along the length but so the seams are staggered first cut off about 10 inches from one of them and sew it to the opposite end.
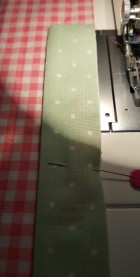
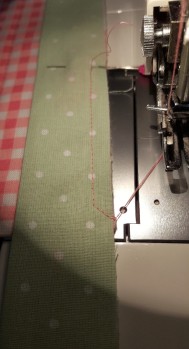
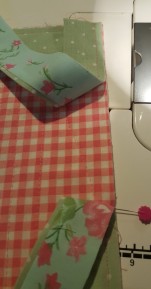
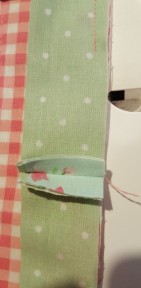
Then stitch together along the length. See picture 2 and 3. (note the staggered seams, mine are closer than 10” but that’s fine.)

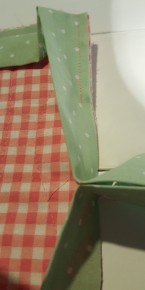
Press towards the narrower side. Then fold over and press in half lengthways. As in picture.
You are now ready to attach to your quilt.
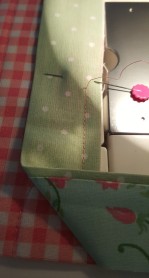
Working from the back of the quilt pin the first section in place with the pattern side down. Start about 5″ or 6” along the strip as in the picture. I usually start along one of the sides where the join will not be so noticeable. Using your walking foot and a quarter inch seam stitch to a quarter of an inch from the end. Stop and rotate 45 degrees into the corner and stitch – as in the picture. If you need to mark this point with a pencil that’s fine.
Now fold this section back in a 45 degree fold and rotate again so you’re ready to start sewing the next side, just start right at the top. Continue with all four corners in this way.
Continue until you get to about 10 inches from where you started, stop stitching. Carefully put the two ends together so they meet in the middle and pop in a pin. Check that it’s tight enough and then sew along the pin mark making sure the folded edge meets up nicely. Maybe over sew the ends so they don’t come undone when stitching down later.
Snip off the excess to about a quarter inch and open up the seam as in the picture.
Place this section back under the machine and stitch from the end to the original start.
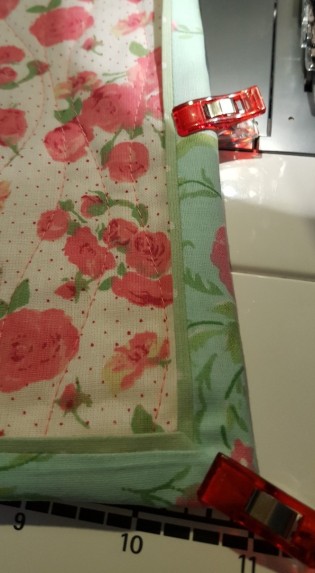
You are now ready to stitch down on the front. I like to use the clips as in the picture but if you prefer pins that’s fine.
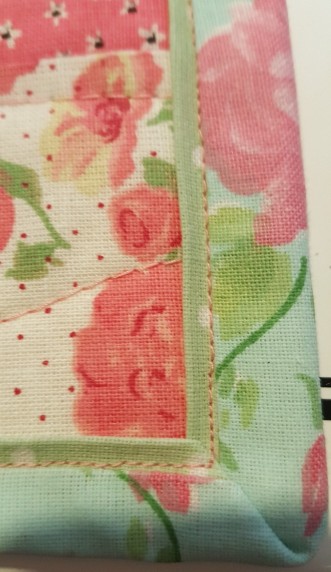
Just fold the edge over to the front and pin in place, carefully top stitch in the area between the flange and the binding, if you prefer to use a toning thread it won’t show any little mistakes, I used a contrast so you could see.
When you get to the corners just fold them in place as you go, it’s quite easy and they stay in place perfectly.